🌐 WebUI
Available in Ludus Pro and Ludus EnterpriseThe WebUI is a visual front-end for Ludus. It covers the same range, blueprint, template, role, and user/group operations as the CLI without requiring a local install.
How it works
The WebUI is a static web application embedded into the Ludus server binary. It is served by the same process that serves the API, on the same port (default 8080), under the path /ui.
| URL | https://<ludus-host>:8080/ui |
| Port | Same as the API. Set with the port key in /opt/ludus/config.yml — see External Access |
| Auth | Email and password (SSO is also supported) |
| TLS | Self-signed certificate by default — accept the browser warning on first visit |
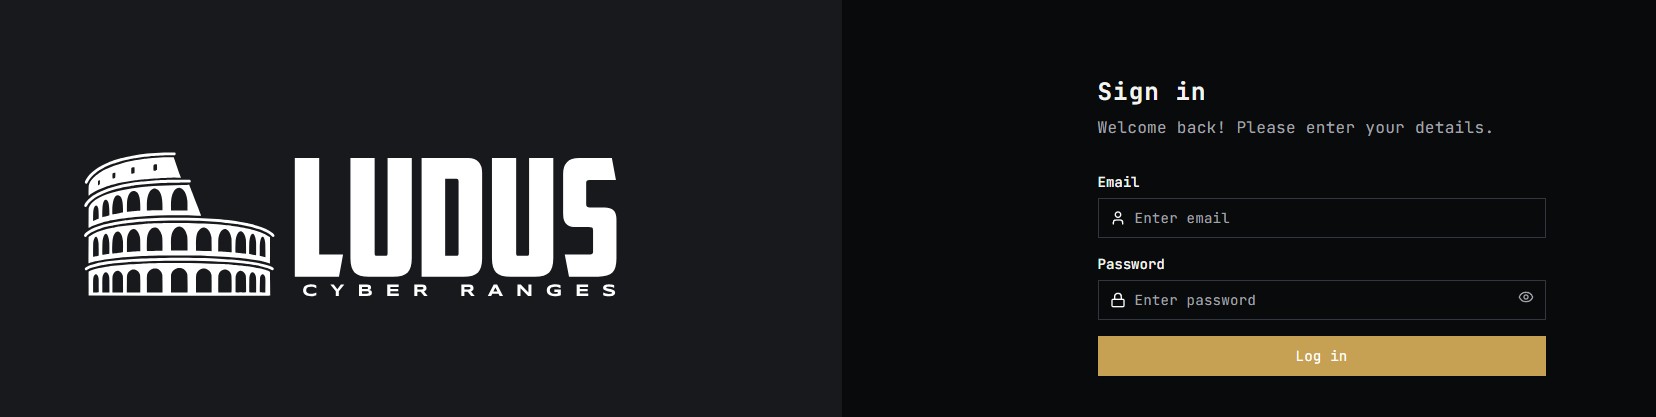
Logging in
Log in with the email and password set when the account was created — at ludus install for the initial admin, or at ludus user add for everyone else. The same password is used for the WebUI and Proxmox. Users migrated from Ludus v1 log in as <proxmox-username>@ludus.internal with their existing Proxmox password; see Upgrading from v1.
Pages
Ranges
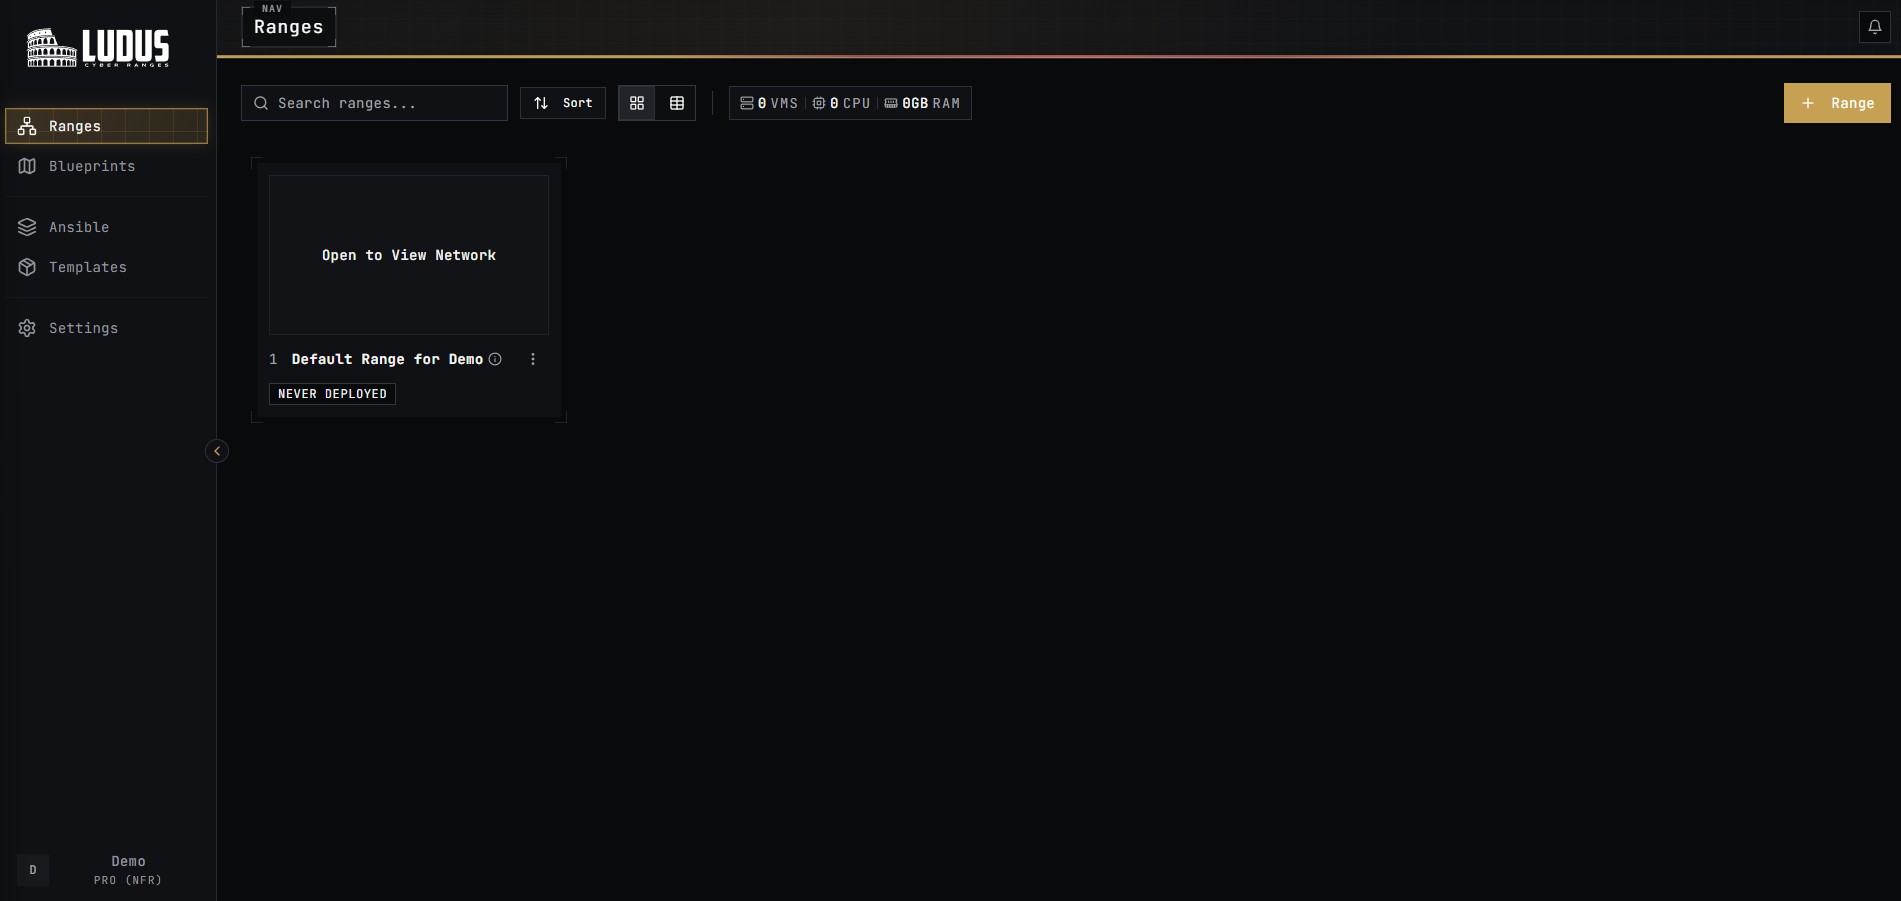
Lists every range owned by the user. Selecting a range opens the Editor.
More information: Range Configuration, Environment Guides.
Editor
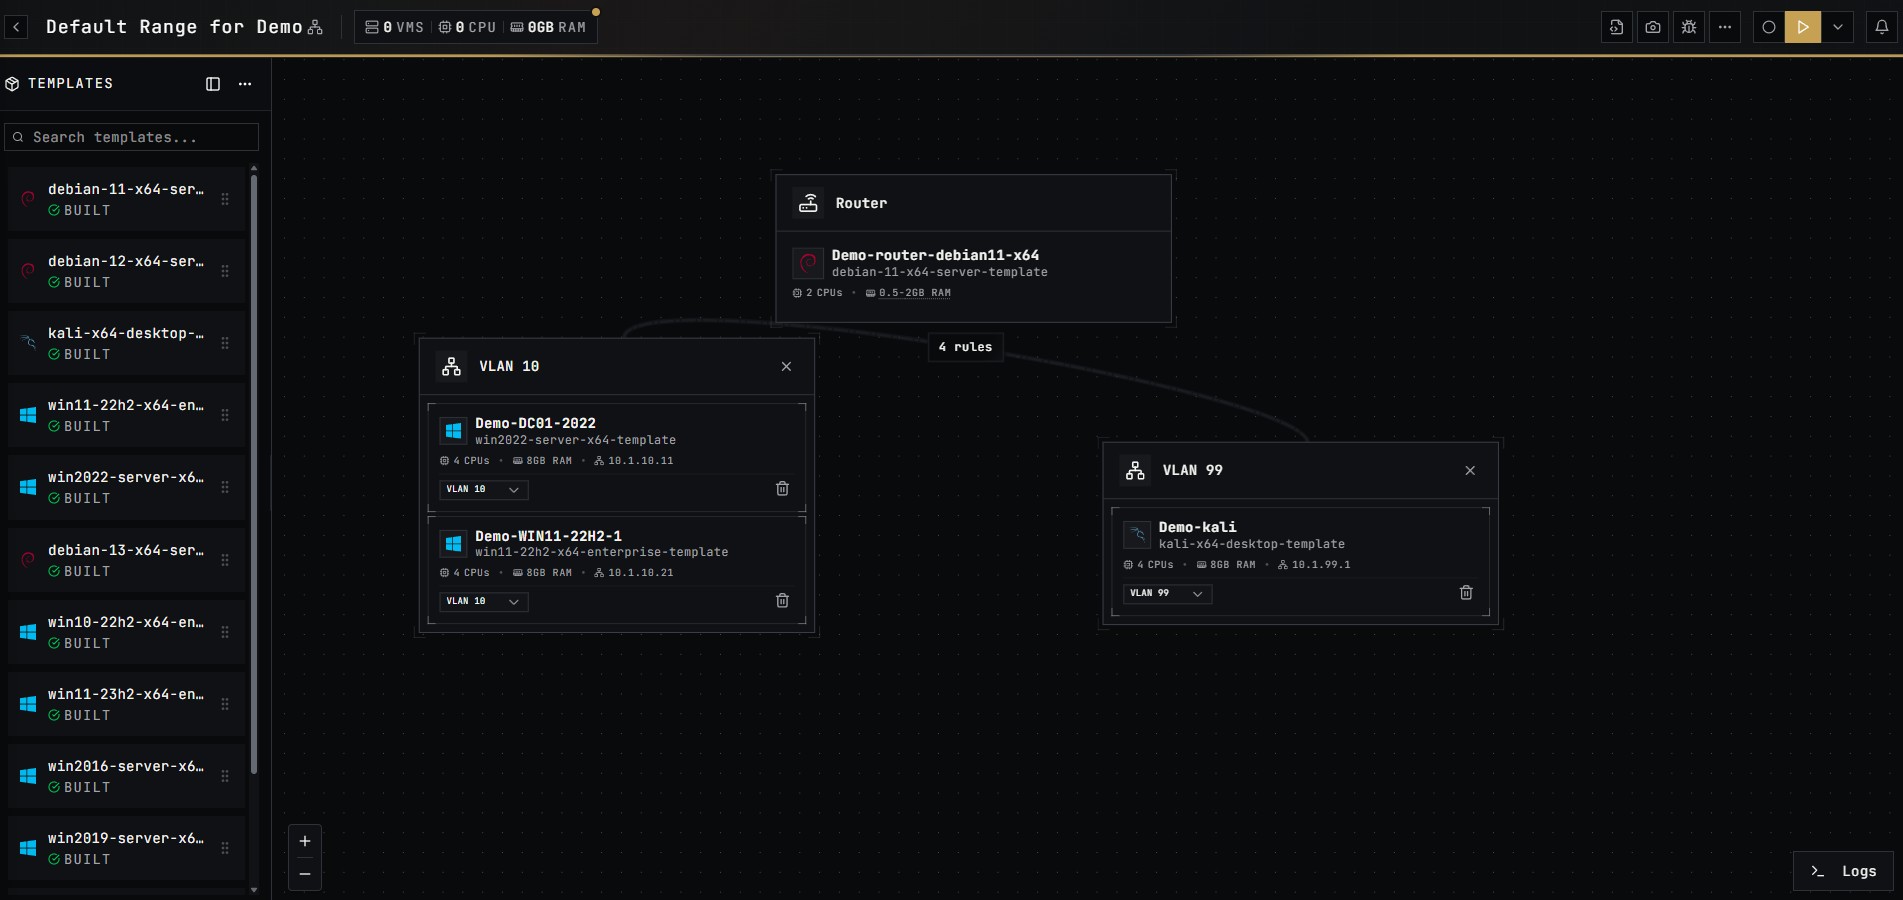
Visual builder for a single range. From the Editor you can:
- Add VMs from available templates and edit per-VM settings.
- Save the range config and deploy.
- Power VMs on and off.
- Create, list, and roll back snapshots — see Snapshots.
- Start and stop testing mode and manage allow/deny lists during a test — see Testing mode.
- Configure router and per-VLAN networking, including Outbound WireGuard routes.
- Apply KMS licensing and Anti-Sandbox to specific VMs.
The top-left arrow returns to the Ranges page.
VM Console
A browser-based VNC console for a single VM. Useful for VMs without network access or for inspecting the desktop directly.
Open the console from the per-VM card in the Editor:

The console opens as another node on the canvas:

Blueprints
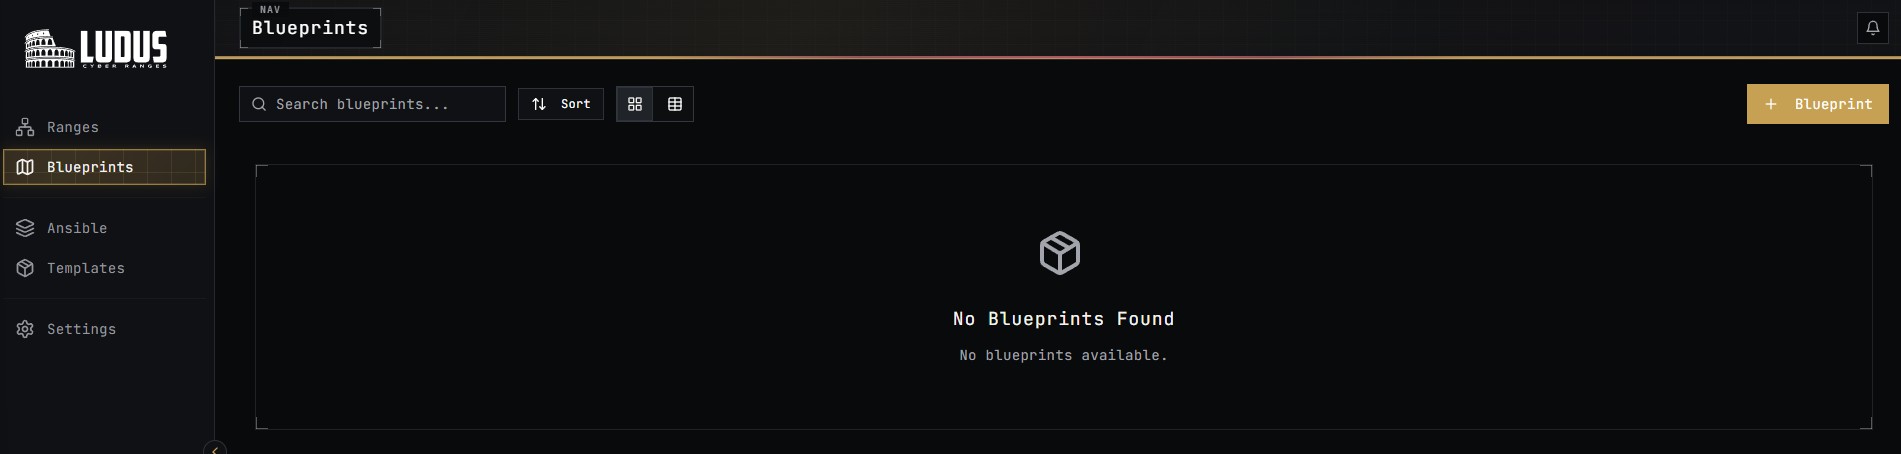
Lists available blueprints. Use + Blueprint to create a new one from a deployed range.
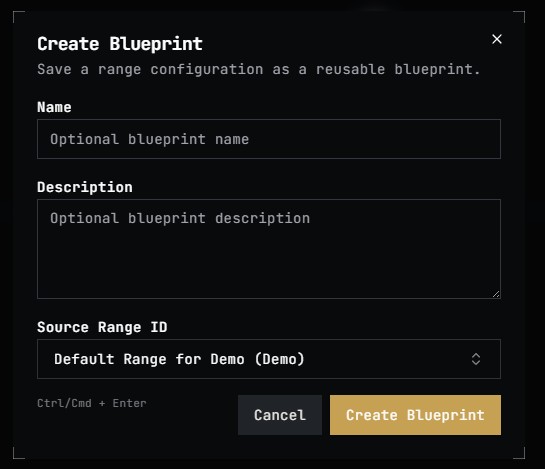
More information: Blueprints.
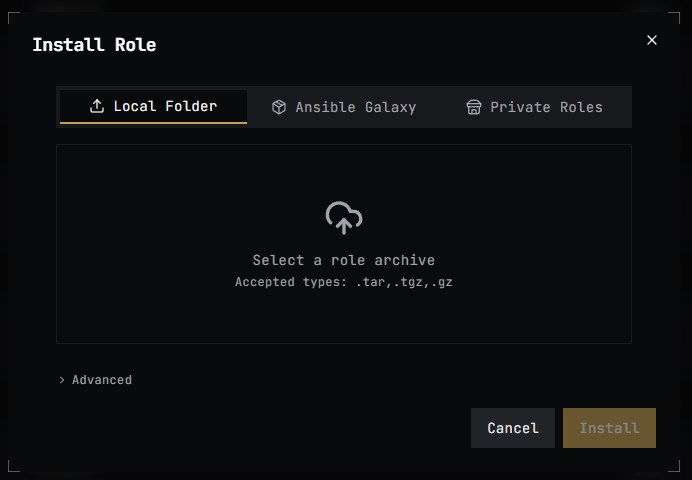
Ansible
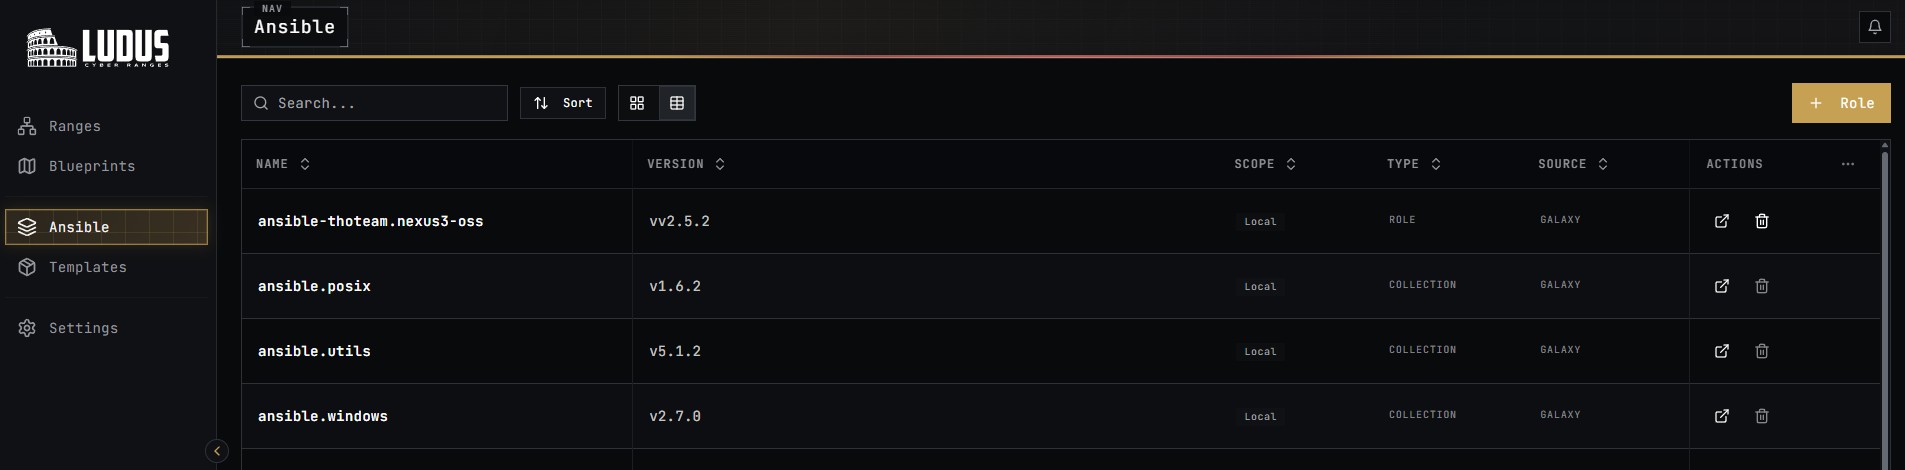
Lists Ansible roles available for use in ranges. + Roles lets users add roles from a local folder, Ansible Galaxy, or the private roles published with their license.
If prevent_user_ansible_add: true is set in /opt/ludus/config.yml, only admins can add roles.
More information: Roles.
Templates
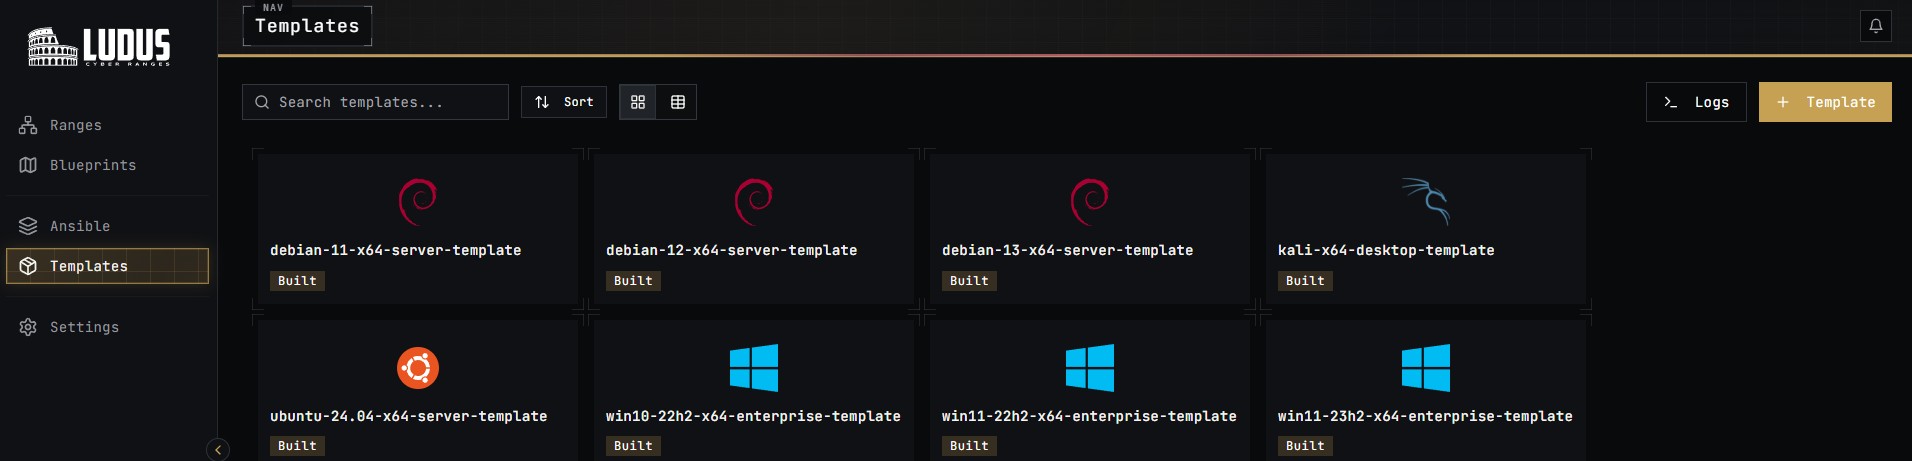
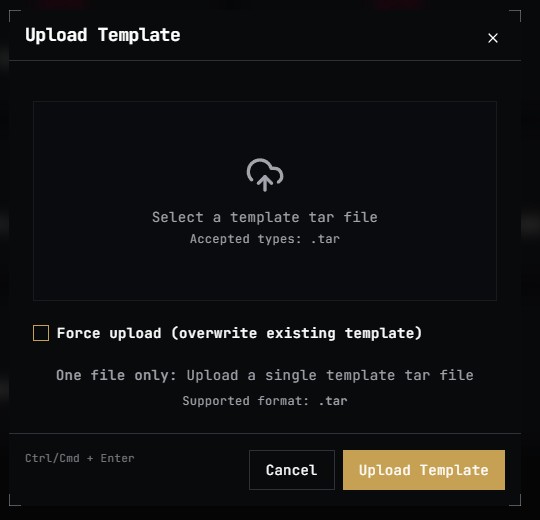
Lists templates currently built and available for use. + Templates uploads a new template; >_ Logs streams the build log.
More information: Templates.
Admin → Users and Groups
Admin-only. Create, list, edit, and delete users and groups. The user detail page also surfaces:
- The user's WireGuard config — copy or download as
<userID>-wireguard.conf. - Per-user quota limits (Enterprise) — see Quotas.
The group detail page surfaces per-group default quotas (Enterprise).
Settings
User preferences (theme, telemetry) and admin-only Enterprise toggles.
| Section | Visibility | Documentation |
|---|---|---|
| KMS server | Admin | Windows Licensing (KMS) |
| Anti-Sandbox | Admin (Enterprise add-on) | Anti-Sandbox |
| License | Admin | Pro/Enterprise Overview |
| Quota defaults | Admin | Quotas |
| Telemetry | Everyone | Telemetry |
| Theme | Everyone | — |
Settings holds the server-wide install and default state for these features. Per-VM application (KMS, Anti-Sandbox, Outbound WireGuard routing) happens in the Editor; per-user and per-group quota assignments happen in Admin → Users and Admin → Groups.
Telemetry
The WebUI sends anonymous usage telemetry to a self-hosted PostHog instance at ph.ludus.cloud. Sensitive identifiers (range IDs, blueprint IDs) are hashed before being sent, and the user identity is a random anonymous ID — not the account email or user ID.
Telemetry is enabled by default for Ludus Pro NFR (Not-For-Resale) licenses and disabled by default for all other licenses. The setting is per-browser (stored in localStorage).
To toggle telemetry, open the Settings page and use the Privacy toggle.